
Master PVC pipe installation with cutting-edge techniques for precise cutting, secure joining, and optimal support. This essential guide covers modern methods, ensuring durable, leak-free plumbing systems using expert-approved practices.
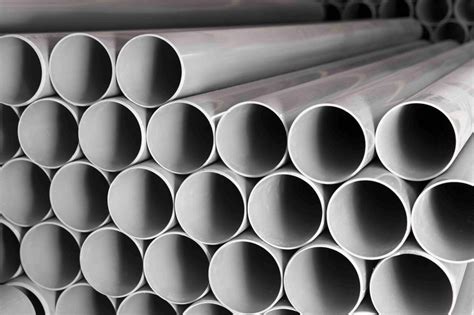
Основные выводы
This guide provides essential knowledge for successful PVC pipe installation, focusing on contemporary methods for reliability and longevity. Prioritizing thorough preparation sets the foundation for any project, ensuring all materials and site conditions are correctly assessed. Mastering modern cutting techniques guarantees precise dimensions, while solvent welding demands meticulous execution to form permanent, sealed joints. Achieving leak-free connections relies on proper surface preparation, correct cement application, and adequate curing time. Implementing advanced support systems is crucial for maintaining alignment, preventing sagging, and managing stress under pressure. Rigorous pressure testing remains non-negotiable for verifying system integrity before final use. Adhering to these professional-grade assembly tips, based on current best practices, leads to durable, trouble-free plumbing installations.
PVC Pipe Installation Preparation Essentials
Proper preparation forms the critical foundation for any successful PVC pipe installation, directly impacting the efficiency of subsequent steps and the system’s long-term reliability. Before proceeding with cutting or joining, meticulously verify all materials against the project specifications. This includes confirming the correct pipe diameter, schedule (such as Schedule 40 or 80), pressure rating, and ensuring fittings match both the pipe and the intended application (potable water, drainage, etc.). Inspect each pipe length and fitting for any visible defects, such as cracks, deep scratches, or deformities, that could compromise integrity. Gather all necessary tools beyond the cutting and joining equipment: ensure you have appropriate measuring tapes, marking tools (like a wax pencil or marker designed for PVC), levels for alignment, and cleaning supplies (lint-free cloths and approved cleaner/primer). Assess the installation environment thoroughly, considering factors like ambient temperature (as it affects solvent welding cure times), adequate ventilation, and safe, stable access to the work area. Organizing tools and materials logically within easy reach significantly enhances workflow efficiency and safety during the installation process. Finally, ensure you have the required personal protective equipment (PPE) – safety glasses and chemical-resistant gloves are essential when handling cutters and solvent cements. This comprehensive groundwork minimizes errors and delays during the active installation phase.
Modern PVC Cutting Tools and Methods
Accurate cutting forms the foundation of successful PVC pipe installations. Contemporary tools have evolved significantly beyond basic handsaws, enabling cleaner cuts and improved joint preparation. Ratchet-style pipe cutters provide exceptional control for smaller diameters, producing square ends with minimal effort. For larger schedule 80 pipes or high-volume projects, power tools like rotary cutters or specialized PVC saws with fine-tooth blades deliver efficiency and precision. Miter saws equipped with non-ferrous blades are indispensable for complex angled cuts required in advanced support systems.
Always ensure the cutting blade is sharp and specifically designed for plastic to prevent chattering, melting, or creating ragged edges that compromise joint integrity.
The cutting method directly impacts the subsequent solvent welding process. After cutting, the pipe end must be thoroughly deburred both inside and out using a chamfering tool or utility knife. This critical step removes the raised lip created during cutting, ensuring full contact between the pipe and fitting socket. Neglecting proper deburring creates pathways for leaks and weakens the joint. For critical pressure applications, a dedicated plastic pipe-facing tool guarantees a perfectly perpendicular end face.
| Tool Type | Best Application | Key Advantage |
|---|---|---|
| Ratchet Cutter | 1/2″ – 1-1/2″ pipes | Portability, clean square cuts |
| Power Rotary Cutter | 1/2″ – 4″ pipes, high volume | Speed, consistent results |
| Fine-Tooth Power Saw | Large diameters, schedule 80 pipe | Handles tough material efficiently |
| Miter Saw (Plastic Blade) | Angled cuts, complex layouts | Precision angles, repeatability |
Transitioning smoothly from cutting to joint preparation requires inspecting the cut surface for smoothness. A properly cut and prepared pipe end should feel smooth to the touch with no visible ridges or plastic fragments, enabling optimal solvent cement application and fusion.
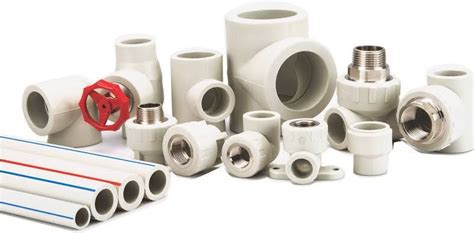
Solvent Welding Techniques Explained
Solvent welding, also known as solvent cementing, is the primary method for creating permanent, leak-free joints between PVC pipes and fittings. This process relies on a chemical fusion bond rather than a mechanical seal. Proper execution begins with meticulous surface preparation: pipes and fittings must be clean, dry, and free of burrs. Apply primer where required by the cement manufacturer or local code; primer softens the PVC surface, enhancing the solvent cement’s penetration. Next, apply a uniform, thin layer of the correct type of solvent cement to both the pipe end and the fitting socket. Avoid excessive cement, which can weaken the joint or cause blockages. Immediately insert the pipe into the fitting with a slight twisting motion to ensure even distribution of the cement. Hold the joint firmly together for 15-30 seconds to prevent push-out. Crucially, the assembly must remain undisturbed for the initial set time specified by the cement manufacturer, typically several minutes, before any movement or pressure testing. Full cure strength develops over several hours. Adhering strictly to the cement manufacturer’s instructions regarding application temperature, open time, and cure time is essential for achieving joints that meet pressure rating requirements and ensure long-term system integrity. This precise technique forms the backbone of reliable PVC plumbing systems.
Achieving Leak-Free Joint Connections
Following proper cutting and preparation, achieving leak-free connections is paramount for PVC plumbing system integrity and long-term performance. The foundation lies in meticulous pipe and fitting surface preparation: both surfaces must be clean, dry, and free of dirt, grease, or moisture. Apply the correct type of primer, as specified by the solvent cement manufacturer, uniformly to the pipe end and the fitting socket; this step softens the PVC material and prepares it for bonding. Immediately after priming, apply a consistent, even coat of solvent cement to both primed surfaces. Use a brush size appropriate for the pipe diameter to ensure full coverage without excess cement pooling inside the joint. Quickly insert the pipe fully into the fitting socket with a slight twisting motion to distribute the cement evenly. Hold the joint firmly together for 15-30 seconds to prevent push-out and ensure initial adhesion. Crucially, allow the joint adequate curing time, as per the cement manufacturer’s instructions and considering ambient temperature and humidity, before handling the pipe or subjecting it to pressure; premature stress can compromise the bond. Proper ventilation during application is essential. Adherence to these steps, following ASTM D2855 standards, consistently results in strong, reliable, leak-free joints.
Advanced Pipe Support System Design
Proper support system design is fundamental for maintaining PVC pipe integrity and preventing premature failure. Calculating appropriate support spacing is critical; this spacing varies based on pipe diameter, temperature of the conveyed fluid, and the specific application (e.g., cold water versus hot water lines). Industry standards, such as those outlined in plumbing codes like the IPC, provide minimum spacing guidelines, typically ranging from 3 feet for smaller diameters (1/2″ to 1″) to 4 feet for larger pipes (2″ and above), but always consult manufacturer specifications. Selecting the correct hanger material is equally vital; plastic-coated metal straps or specifically designed PVC support clamps prevent abrasion and galvanic corrosion, avoiding point loading that can deform the pipe wall. For vertical pipe runs, riser clamps must be used at every floor level and potentially more frequently depending on building movement and pressure. Crucially, the design must accommodate thermal expansion and contraction, particularly in hot water lines or exposed outdoor installations. This involves incorporating expansion loops, offsets, or expansion joints within the system layout, and ensuring supports near these points allow guided movement without restricting the pipe. Neglecting proper support design risks sagging, stress on joints leading to leaks, and potential pipe fracture under pressure or temperature fluctuations.
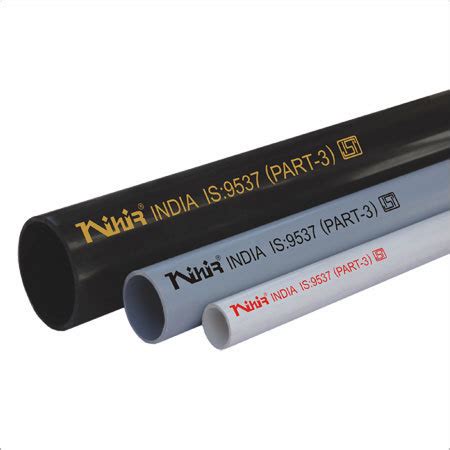
Pressure Testing for System Integrity
Following the secure installation of PVC pipes and supports, pressure testing validates the entire system’s reliability. This critical phase involves filling the pipes with water or air at pressures exceeding normal operating levels, typically 1.5 times the intended working pressure as specified by manufacturers and plumbing codes. During the test, maintain constant pressure for a minimum duration—often 15 to 30 minutes—while meticulously inspecting every joint, valve, and connection point. Any pressure drop indicates potential leaks, requiring immediate identification and remediation before retesting. Properly executed pressure tests confirm joint integrity, detect weaknesses in solvent-welded seams, and ensure the system withstands long-term stress without failure. Adhering to standardized testing protocols prevents future water damage, costly repairs, and operational hazards, making it indispensable for both new installations and system modifications.
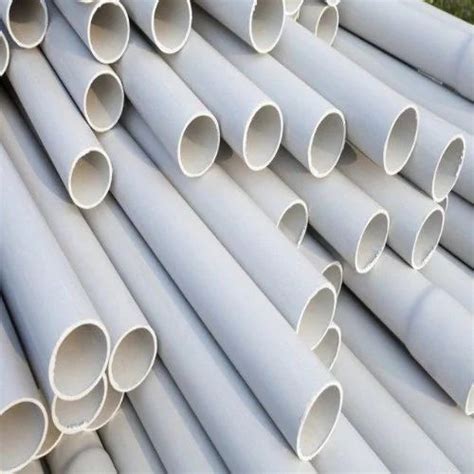
Contemporary Plumbing Installation Practices
Modern PVC pipe installation prioritizes precision, efficiency, and long-term system integrity, building upon the foundational steps of preparation, cutting, solvent welding, and support. Today’s best practices emphasize meticulous alignment during assembly, ensuring pipes and fittings are fully seated and correctly oriented before the solvent cement sets. This demands careful planning of the installation sequence, especially in complex runs, to avoid undue stress on joints. Furthermore, contemporary approaches integrate comprehensive pressure testing not just as a final step, but as an ongoing verification method during multi-stage installations, allowing for early detection of potential issues. Attention also extends to minimizing strain on the system through the strategic placement of precisely engineered supports and hangers, accommodating thermal expansion and contraction. This holistic focus on alignment, phased testing, and calculated support placement characterizes current professional standards, directly contributing to the creation of durable, reliable, and leak-free plumbing networks essential for modern infrastructure.
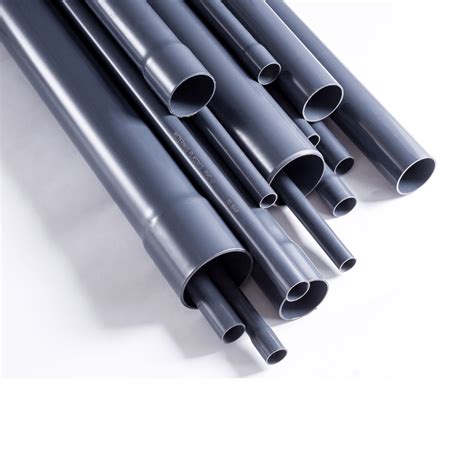
Professional-Grade PVC Assembly Tips
Achieving truly professional results in PVC assembly requires meticulous attention to detail beyond basic solvent welding steps. Following proper solvent welding procedures is foundational, but mastering final assembly elevates the system’s reliability. Crucially, ensure all cut pipe ends are thoroughly deburred inside and out; even minor ridges can compromise joint integrity by preventing full insertion or creating paths for leaks. Before applying any cement, conduct a dry fit of all components, marking alignment lines with a pencil to guarantee pipes are fully seated to the bottom of the fitting socket during the final assembly. This step is vital for maintaining correct flow direction and avoiding stress points. When applying cement, work swiftly but deliberately, coating both the pipe end and the fitting socket evenly. Immediately insert the pipe into the fitting with a firm, twisting motion of approximately one-quarter turn to distribute the cement uniformly. Hold the joint firmly together for 10-15 seconds to prevent push-out while the initial set occurs. Crucially, resist the urge to reposition or stress the joint during the critical curing period specified by the cement manufacturer; disturbing it can create weaknesses. Proper support bracketing, installed before or immediately after assembly depending on the configuration, is essential to prevent sagging or strain on the newly formed joints as they fully cure.
Заключение
Mastering contemporary PVC pipe installation techniques provides the foundation for constructing durable, reliable plumbing systems. By integrating the precise cutting methods, solvent welding procedures, and advanced support strategies outlined in this guide, installers can significantly reduce the risk of leaks and premature system failures. These professional-grade approaches ensure joints maintain integrity under pressure while accommodating thermal movement and structural stresses. The emphasis on thorough pressure testing further validates system reliability before commissioning. Ultimately, adopting these current best practices—from preparation through final assembly—delivers plumbing networks characterized by longevity and consistent performance. This comprehensive methodology minimizes maintenance requirements and operational disruptions, offering sustainable solutions for residential, commercial, and industrial applications where dependable fluid transport is essential.
FAQs
What is the maximum temperature PVC pipes can safely handle?
Most schedule 40 PVC pipes are rated for continuous use up to 140°F (60°C), though temperature ratings vary by schedule and manufacturer specifications. Exceeding this limit risks deformation and joint failure.
Can previously glued PVC joints be reused or repaired?
Solvent-welded connections create permanent chemical bonds and cannot be reused. Compromised joints require complete removal and replacement of the affected section using fresh fittings and proper cement application techniques.
How frequently should pipe supports be installed for horizontal runs?
Supports are typically required every 4 feet (1.2 meters) for ½- to 1-inch pipes, extending to 6-foot (1.8-meter) intervals for 2-inch pipes. Always consult engineering specifications for load-bearing requirements and local code compliance regarding support spacing.
Why does pressure testing sometimes show delayed leaks in solvent-welded systems?
Incomplete curing is the primary cause. Despite initial setting, full bond strength develops over 24 hours. Testing before complete curing may reveal seepage at joints. Environmental factors like low temperatures significantly extend required cure times.
What pressure testing method ensures system integrity?
Hydrostatic testing at 1.5 times the system’s working pressure for 15-30 minutes is standard. This verifies joint integrity and identifies weaknesses before system commissioning, though always adhere to project-specific testing protocols.